Five Mini-Experiments to Master Background Simplification in Outdoor Photos
Goal and approach
This set of five tiny experiments trains one practical skill: making your subject stand out by simplifying its background. The exercises are short, repeatable, and progressive. Do them in order; each builds on observations from the previous one. You need only a camera or phone and a familiar outdoor spot—a garden bed, a park path, a market stall, or a balcony planter.
How to use these experiments
Set aside 20–40 minutes. Treat each experiment as a focused task: try it for 3–8 minutes, then jot one sentence about what changed in your images. Don’t obsess over technical perfection—pay attention to relationships of distance, color, texture, and light. Repeat the set on different days and in changing light.
Experiment 1 — Distance and separation
Purpose: Learn how subject-to-background distance affects clarity and distraction.
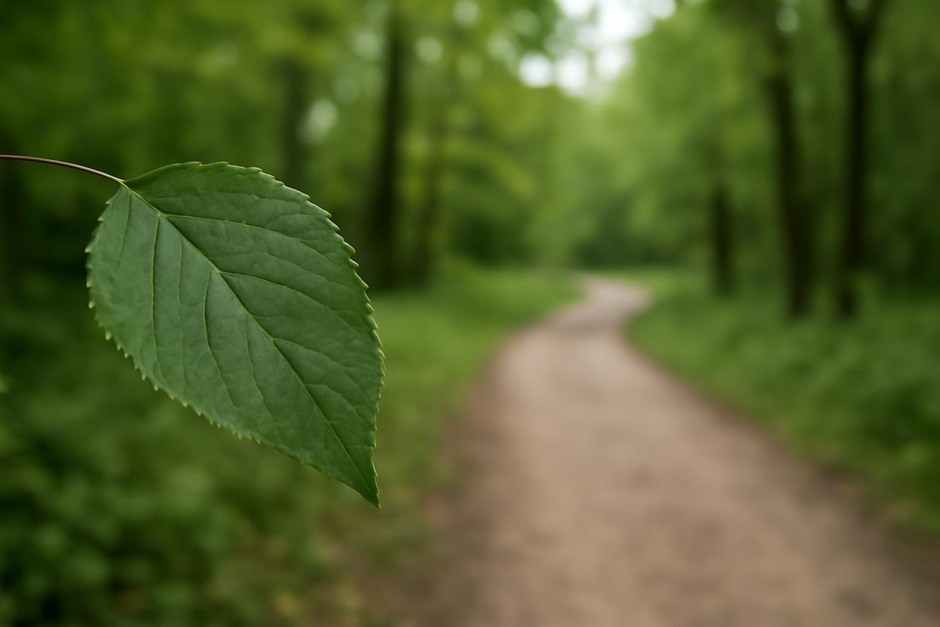
- Choose a small, stationary subject—an interesting leaf, a café chair, a weathered sign.
- Shoot the subject with the background nearby, then move back and shoot again so the background is farther away. Keep the subject framing similar.
- Compare the two frames. Note how much background detail you can still read and how it competes with the subject.
Key observation: Greater distance often reduces competing detail and makes the subject read more clearly, even without fancy lenses.
Experiment 2 — Foreground framing
Purpose: Use nearby elements to mask or simplify busy backgrounds.
- Find the same subject, or a similar one. Look for leaves, railings, or a low wall to place between you and the background.
- Shoot with those foreground elements partially obscuring the background. Try both soft blurs (close leaves) and sharp masks (a dark post).
- Observe how a small foreground shape can block distracting patches of color or clutter, pushing attention to the subject.
Experiment 3 — Changing perspective and background pairing
Purpose: See how small shifts in angle change how backgrounds relate in color and texture.
- Walk left, right, crouch, and raise your camera for the same subject. Each shift pairs the subject with a different patch of background.
- Choose the frame where the background has the most uniform tone or texture relative to the subject.
- Note whether complementary or similar colors help the subject pop more.
Key observation: You often don’t need a neutral wall; simply finding the right slice of background does the job.
Experiment 4 — Active blur and focal length
Purpose: Explore how aperture and focal length affect background rendering.
- If you have manual controls, try the subject at the same distance with wide (low f-number) and narrow apertures. If not, test with your phone using portrait mode and standard mode.
- Also try zooming in or moving closer versus staying wide. Compare the background blur and how it isolates the subject.
- Write down whether blur alone or combined with placement made the subject clearer.
Experiment 5 — Color and texture editing in-camera
Purpose: Practice subtle tonal separation without heavy post-processing.
- Compose so the background is close but muted—shaded foliage, a weathered wall, or a paved path. Take a reference shot.
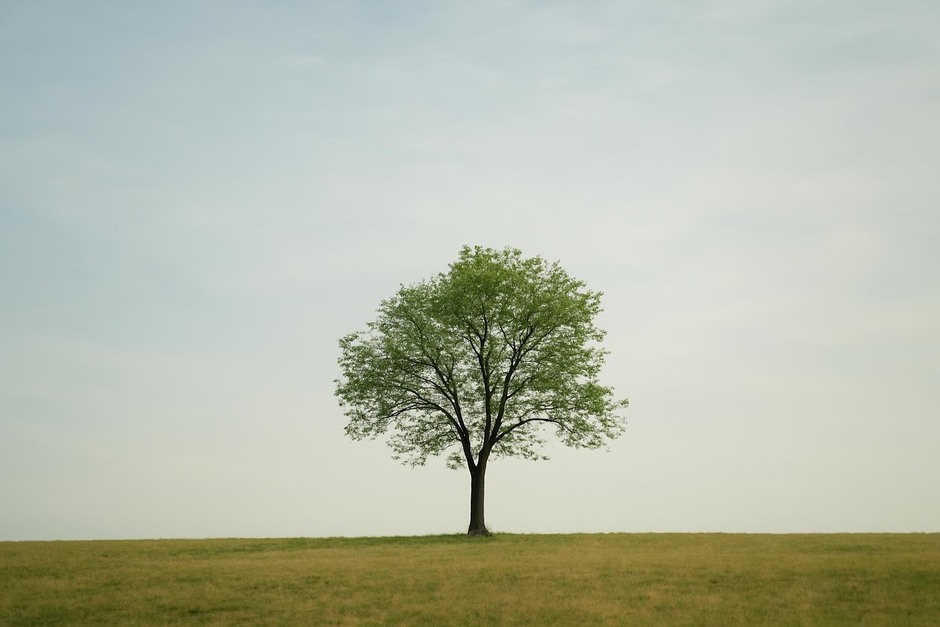
- Now look for a background that is either slightly darker or lighter than the subject and reshoot. Try to place the subject against a background with simpler texture.
- On the same session, make a monochrome frame to see if removing color helps the subject’s shape read better.
Key observation: Often a subtle shift in tonal contrast or texture simplification outperforms aggressive editing later.
Bringing the lessons together
After completing the five experiments, compare one image from each exercise. Ask yourself: Which image needs the fewest edits to make the subject clear? Which technique—distance, foreground masking, angle, blur, or tonal pairing—had the biggest immediate effect? The experiments are small and repeatable; over weeks they train you to see the simplest, most reliable way to separate subject and background under varying conditions.
Next step: Repeat the set with moving subjects (people walking by, birds, cyclists) to learn which approaches work when you must act quickly. The real skill is not only knowing options, but choosing the fastest one that gives clean results.
Try these mini-experiments on three different outings—one sunny, one overcast, and one in late light—and notice how your judgments about backgrounds change with the light.