Stabilizing Field Photography: Comparing Four Portable Support Methods
Problem
When you work outdoors with a compact camera or mirrorless body, achieving sharp images often comes down to stability. Long exposures, telephoto crops, low light, and wind can all introduce blur. Yet carrying a full-size tripod isn’t always practical on a short walk or in a small garden. Photographers need portable support methods that balance weight, speed, and steadiness. Each option involves material and method trade-offs: how much weight are you willing to carry, how fast must you be ready to shoot, and which surfaces will you encounter?
Principles
Before comparing supports, keep these guiding principles in mind:
- Contact and geometry: Stability improves as the camera gains more, well-separated points of contact with the ground (or a body anchor). Three points are usually much steadier than one.
- Center of mass: Lowering the camera’s center of mass and keeping weight over the support reduce sway.
- Material stiffness and damping: Rigid materials resist motion better, while soft materials (like beanbags) absorb small vibrations. Neither is categorically superior—each dampens or transmits motion differently.
- Setup time vs. precision: Fast methods trade some steadiness for responsiveness; slower setups buy stability but limit spontaneity.
- Surface compatibility: Consider the types of surfaces you’ll encounter—rock, fence posts, bench tops, the ground—and whether a method requires flatness.
Examples
Below are four common portable supports. For each, I summarize materials-and-methods, core trade-offs, and practical notes.
1. Body bracing and strap anchoring
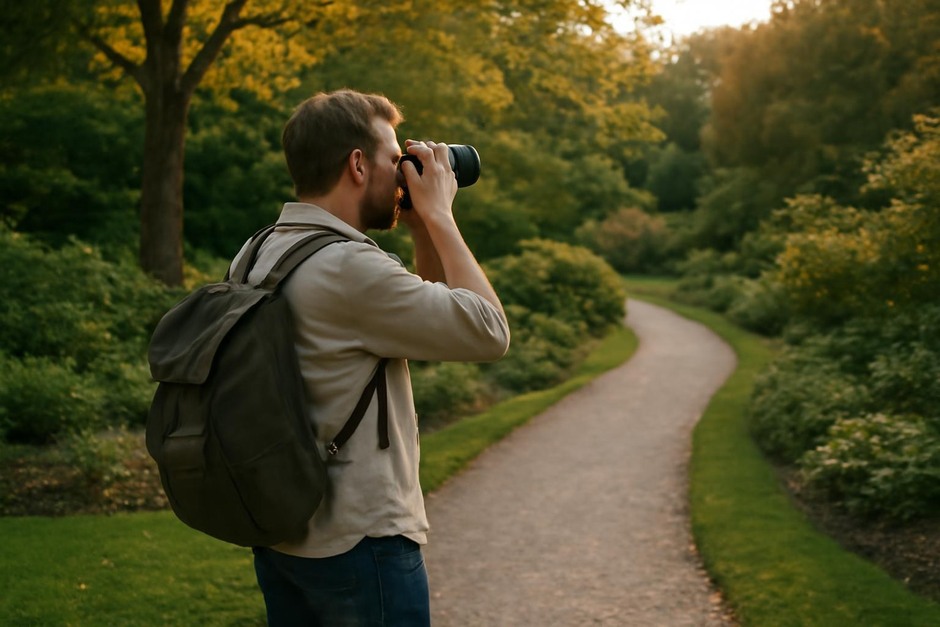
Materials/method: Use your body as the primary stabilizer. Tuck elbows into your ribs, exhale and hold, lean against a wall or tree, or loop a camera strap around a pole and tension it. A wrist strap can help control small rotations.
Trade-offs: Fastest to deploy and zero extra weight, but stability depends on your posture and the availability of an anchor. Great for quick handheld work and telephoto use at moderate shutter speeds, but less reliable for multi-second exposures.
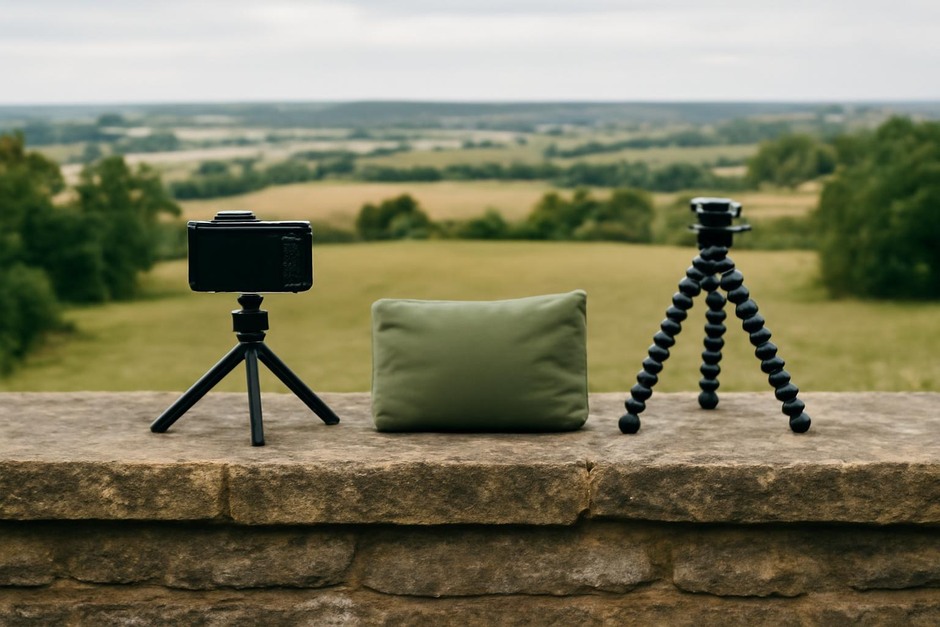
2. Compact tabletop tripod
Materials/method: Small aluminum or carbon-fiber tripods with a central column and three legs. Usually light, low to medium height, and with a ball head or tilting plate.
Trade-offs: Offers consistent three-point support and precise framing. Heavier than bracing, slower to set up than purely handheld techniques, and requires a reasonably flat surface. Better for controlled shots, self-portraits, or when using a timer/remote.
3. Flexible-leg tripod (e.g., “gorillapod” style)
Materials/method: Legs made of articulated segments that wrap around irregular objects (railings, branches, signposts). Provides a stable platform in odd locations where flat surfaces are scarce.
Trade-offs: Extremely versatile and compact, allowing creative mounting angles. Stability depends on how tightly the legs grip and the stiffness of the segments—very heavy camera/lens combinations will still sag. Faster than full tripods, heavier than simple beanbags, and usually better for medium-weight setups.
4. Beanbag or ground bag
Materials/method: A soft pouch filled with beans, rice, foam beads, or microbeads. Placed on a wall, rock, or bench; the camera rests on or against the bag and molds to the shape of the surface.
Trade-offs: Excellent vibration damping and highly adaptable to uneven surfaces; extremely light and unobtrusive. Not as precise for composing vertical adjustments unless combined with a small plate or head. Performs well in wind because the soft contact reduces transmitted shake, but offers less gross elevation control than a tripod.
Applying the trade-offs
Choose based on these practical scenarios:
- If you need sub-second exposures and speed is critical: body bracing plus a wrist strap or strap-anchoring around a post.
- If you want precise composition and three-point steadiness on flat surfaces: compact tabletop tripod.
- If you encounter irregular or vertical anchors and want creative mounting: flexible-leg tripod.
- If you want a very light, low-profile solution for damped support on uneven ground: beanbag.
Practice Checklist
- Assess the scene: note likely shutter speeds and available anchors before you choose a support.
- Match weight to support: avoid heavy lenses on soft supports; prefer rods/rigid supports for long lenses.
- Lower center of mass: keep the camera close to the support or your body when possible.
- Use remote triggers or self-timer for exposures longer than 1/4s to remove finger-induced shake.
- Combine methods: a beanbag on a tripod head or a strap plus body brace can outperform a single technique alone.
- Test quickly: take a handheld test shot at the intended framing and check at 100% to confirm sharpness.
All four methods are tools in the field photographer’s kit. The best choice depends on the materials you’re willing to carry and the methods you prefer under time pressure. Practicing each in real settings reveals their practical limits faster than theoretical rules alone.